Your Essential Checklist for Planting Window Boxes Like a Pro
Window boxes are a fantastic way to add a burst of color and personality to your home. Whether your space is urban or suburban, the simple act of planting a window box can dramatically boost your curb appeal. But how do you ensure your window box gardens look lush, healthy, and professionally designed all season long? In this comprehensive guide, we provide you with your essential checklist for planting window boxes like a pro. From planning and selection to ongoing care, our expert tips will transform your window boxes into stunning features you'll love.
Why Window Boxes Are a Game-Changer for Home Gardens
Before diving into the checklist, let's explore the benefits of these floral accents:
- Maximize limited space: Perfect for apartments or townhouses with no yard.
- Seasonal color: Easily update your plantings to match the time of year.
- Enhanced curb appeal: Increase your home's charm and value.
- Wildlife friendly: Attract pollinators like bees and butterflies to your window boxes.
- Personal expression: Showcase your style and creativity with plant arrangements.
The Ultimate Window Box Planting Checklist
Ready to master the art of the window box planter? Follow this step-by-step checklist for planting beautiful, thriving window boxes:
1. Planning and Preparation
- Assess Your Location: Is your window box in sun, partial shade, or full shade? Sun exposure determines which plants will thrive.
- Measure Your Windows: Ensure you choose a window box that fits snugly and is supported safely.
- Choose High-Quality Window Boxes: Material matters. Opt for rot-resistant wood, weatherproof metal, or durable plastic. Check for sufficient drainage holes to prevent root rot.
-
Gather Tools and Supplies:
- Pots or boxes
- Potting mix
- Fertilizer
- Gardening gloves and trowel
- Watering can or hose
2. Soil and Drainage: The Foundation for Lush Growth
- Quality Potting Mix: Never use garden soil; opt for a lightweight potting mix designed for containers. This ensures better drainage and aeration.
- Improving Drainage: If your box lacks drainage holes, drill extra holes. To keep soil from washing out, cover the base with a layer of gauze, mesh, or even a coffee filter before filling.
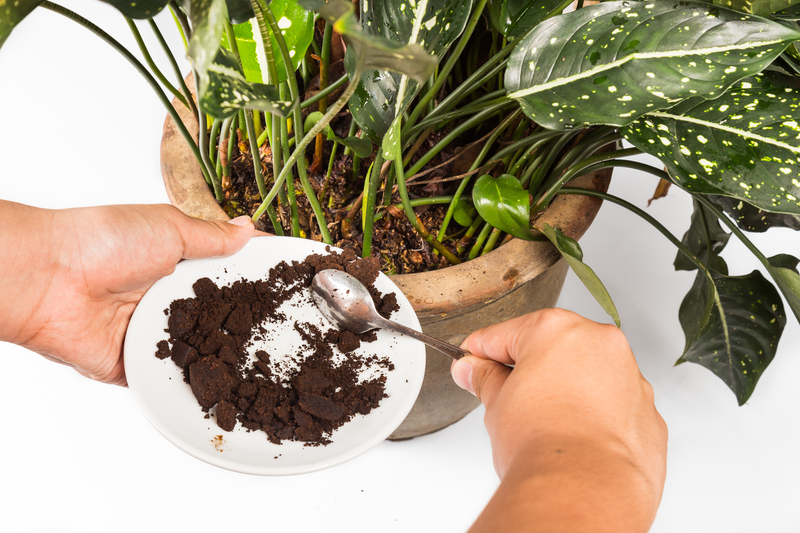
- Fertilizer: Mix in slow-release granules or plan for regular feeding throughout the season.
3. Plant Selection: How to Choose the Perfect Plants for Window Boxes
Plant selection is the heart of getting professional-looking window box plantings. Follow the tried-and-true rule: Thriller, Filler, Spiller.
- Thriller: The tall, upright "drama" plants for the center or back (e.g., salvia, coleus, grasses).
- Filler: The mound-forming, bushy varieties that fill space (e.g., begonias, geraniums, impatiens).
- Spiller: Trailing plants that cascade over the edge (e.g., sweet potato vine, petunias, lobelia, ivy).
Bonus Tips: Choose varieties based on sunlight needs and coordinate colors for maximum visual impact. For sun-loving combos, try petunias, verbena, and million bells. For shade, especially north-facing boxes, opt for ferns, coleus, and torenia.
4. Designing Stunning Arrangements
- Symmetry or Asymmetry? Choose a balanced or freeform look based on your architectural style.
- Mix Textures and Leaf Shapes: Combine bold, fine, glossy, and matte foliage for professional flair.
- Color Coordination: Harmonize with your home's exterior. Think of color schemes - complementary (purple and yellow), analogous (blue and green), or monochromatic.
- Seasonal Switch: Plant bulbs or cool-hardy blooms for spring, heat lovers for summer, and ornamental kale or pansies for fall.
5. Planting Your Window Boxes Step by Step
- Set up your work area: Prepare your soil, plants, and tools outdoors or on a surface protected from mess.
- Fill boxes two-thirds with moistened potting mix. Gently pat down; do not compact.
- Arrange plants while still in their pots: Experiment with positioning for shape and impact.
- Gently remove plants from pots: Loosen the roots if bound.
- Plant tallest "thrillers" at the center or rear, fillers around, and trailing spillers at the front and sides.
- Backfill with extra potting mix and press gently around each plant.
- Water thoroughly: Ensure even, deep moisture. Newly planted boxes may need daily watering for the first week.
6. Expert Maintenance Tips for Thriving Window Box Plantings
- Consistent Watering: Window boxes dry out quickly. In hot weather, water once daily. Early morning is best to avoid leaf scorch and fungal diseases.
- Feed Regularly: Supplement slow-release fertilizer with liquid feed every 2-3 weeks, especially for heavy bloomers or edibles.
- Deadhead and Prune: Remove spent blooms and pinch back leggy growth to encourage new flowers and fuller plants.
- Watch for Pests: Inspect plants weekly for aphids, snails, or spider mites and treat promptly with organic or chemical controls as needed.
- Rotate and Refresh: As the seasons change or if a plant fades, swap it out for something new to keep your display looking fresh.
7. Creative Window Box Ideas to Inspire You
- Herb Gardens: Grow basil, parsley, chives, and mint for a kitchen window box that's both beautiful and tasty.
- Succulent Creations: Drought-tolerant and low maintenance, perfect for south-facing boxes and forgetful waterers.
- Pollinator Paradise: Attract butterflies or hummingbirds with salvia, lantana, and nasturtium.
- Edible Picks: Plant lettuce, dwarf tomatoes, and pansies (edible!) for a window box you can snack on.
8. Common Mistakes to Avoid with Window Box Planting
- Overcrowding: Young plants grow rapidly. Give them adequate space for root development and air circulation.
- Poor Drainage: Soggy soil suffocates roots. Always ensure good drainage to prevent rot.
- Choosing the Wrong Plants for Sun/Shade: Match your plants to the light conditions your window receives.
- Neglecting Maintenance: Don't forget regular watering and fertilizing--window boxes have little room for error!
Frequently Asked Questions on Planting Window Boxes Like a Pro
How often should I water my window box?
Window boxes usually need daily watering during summer or windy weather, since containers dry faster than garden beds. Test soil moisture with your finger--to the first knuckle should feel slightly damp, not soggy or bone-dry.
Should I line my window box?
Lining your window box with coconut fiber, plastic (with holes), or landscape fabric helps retain soil while allowing drainage. Avoid materials that block airflow or trap moisture excessively.
What is the best soil for window boxes?
Use a lightweight, high-quality potting mix that's enriched with compost or slow-release fertilizer. This supports healthy root growth, more blooms, and better resilience in containers.
Can I plant perennials in window boxes?
Yes! Many perennials such as heuchera, coral bells, or sedum work well. In cold regions, treat perennials as annuals or overwinter them elsewhere to avoid winter damage.
How do I stop soil from spilling out of my window box?
Use a liner or mesh at the base, and don't overfill the soil to the rim. Avoid watering heavily all at once, which can wash soil out.
Your Pro Window Box Checklist: Quick Recap
- Assess sun/shade conditions and select location-appropriate plants
- Use quality boxes with adequate drainage
- Choose lightweight potting mix and fertilize as needed
- Follow the Thriller-Filler-Spiller planting formula
- Arrange plants, considering height, color, and texture
- Water and maintain regularly for lasting beauty
Conclusion: Elevate Your Home with Professional Window Box Plantings
Planting window boxes is an enjoyable, creative, and value-adding way to upgrade your home's exterior. With the help of our essential checklist for planting window boxes, you'll be confidently selecting the right containers, soil, and plants--and enjoying vibrant, pro-quality window box gardens all season long. So gather your inspiration, make your checklist, and watch your windows bloom with style and color!
Ready to get started? Share your window box success stories with us and inspire your neighbors to plant their own masterpieces. Your windows will thank you--and so will your visitors!